The VOR Indicator at a Glance
The VOR indicator looks intimidating because it packs several pieces of information into one small instrument, but each part has exactly one job. Once you can name those parts and say what each does, the whole thing stops being mysterious. The three you must understand are the Omni-Bearing Selector (OBS), the Course Deviation Indicator (CDI), and the TO/FROM flag.
Here is the key mental shift: the VOR indicator does not know or care which way your airplane is pointed. It only knows your position relative to the station and the course you have selected. That single fact resolves most of the confusion students have — the needle is about the course you dialed in, not your heading.
The OBS: Your Course Selector
The Omni-Bearing Selector is the knob you rotate to choose a course, and the number under the top index is the course you have selected. Think of the OBS as asking the instrument a question: "If I want to fly this course, where is it relative to me, and will it take me to or from the station?"
Because you set it, the OBS is under your control at all times — and that is important, because the needle only makes sense in the context of what you have selected. Set 360 in the OBS and the instrument evaluates everything with respect to a course of due north. Set 180 and it flips the reference. Changing the OBS does not move your airplane one inch; it changes the question you are asking the instrument.
This is why the very first habit to build is: decide what course you want, set it in the OBS, and only then interpret the needle.
The CDI: What the Needle Is Telling You
The Course Deviation Indicator is the vertical needle, and it shows how far off the selected course you are and in which direction. When the needle sits in the center, you are on the course you dialed into the OBS. When it deflects, the course lies in the direction of the deflection: needle to the left means the course is to your left.
The rule that follows is beautifully simple — fly toward the needle to get back on course. If it is deflected right, the course is to your right, so correct to the right. Each dot of deflection represents roughly 2 degrees off the selected course, and full-scale deflection is about 10 degrees, so a needle pegged to the side means you are at least 10 degrees off.
Notice what the CDI does not depend on: your heading. You could be flying the selected course, flying backward along it, or crabbing into a crosswind, and the needle would still simply report how far the course is from your current position. That independence is the source of both the instrument's power and its most famous trap.
The TO/FROM Flag
The TO/FROM flag answers one question: if you fly the course currently set in the OBS, will it take you TO the station or away FROM it? A TO indication means the station is ahead of you along that course; a FROM indication means it is behind you.
The flag is essential for orientation. Suppose you center the needle and read the OBS. If the flag says FROM, the number under the index is the radial you are currently on — your position relative to the station. If it says TO, the number is the course that would take you to the station, and the radial you are on is the reciprocal. Being able to center the needle and instantly state your radial is one of the most useful VOR skills, and the flag is half of that answer.
A third state, often shown as OFF or a flag, appears when you are near a position 90 degrees to the selected course or out of reliable range — the instrument is telling you it cannot give a meaningful TO or FROM.
Reverse Sensing: The Classic Trap
Reverse sensing is the phenomenon where the CDI needle deflects opposite to your intuition, so turning toward it takes you further off course. It is the single biggest source of VOR confusion, and it has one cause: the course set in the OBS is roughly opposite to the direction you are actually flying.
Imagine you are flying toward a station but you have set the OBS to the radial behind you — a FROM course — instead of the inbound TO course. Now the instrument is evaluating a course pointed the opposite way from your travel, and the needle sense flips. You turn right to chase the needle and drift left; the airplane and the instrument seem to be arguing.
The cure is a discipline, not a calculation: set the OBS to approximately the direction you intend to fly. Flying inbound to the station? Set the inbound course so the flag reads TO. Tracking outbound? Set the outbound radial so it reads FROM. When the OBS agrees with your direction of flight, the needle always points the correct way, and "fly toward the needle" is reliable.
Putting It All Together
Read the instrument in a fixed order and it becomes routine. First, set the OBS to the course you want. Second, check the TO/FROM flag to confirm the course points the way you intend to go. Third, read the CDI and fly toward the needle to capture and hold the course. Three steps, same order, every time.
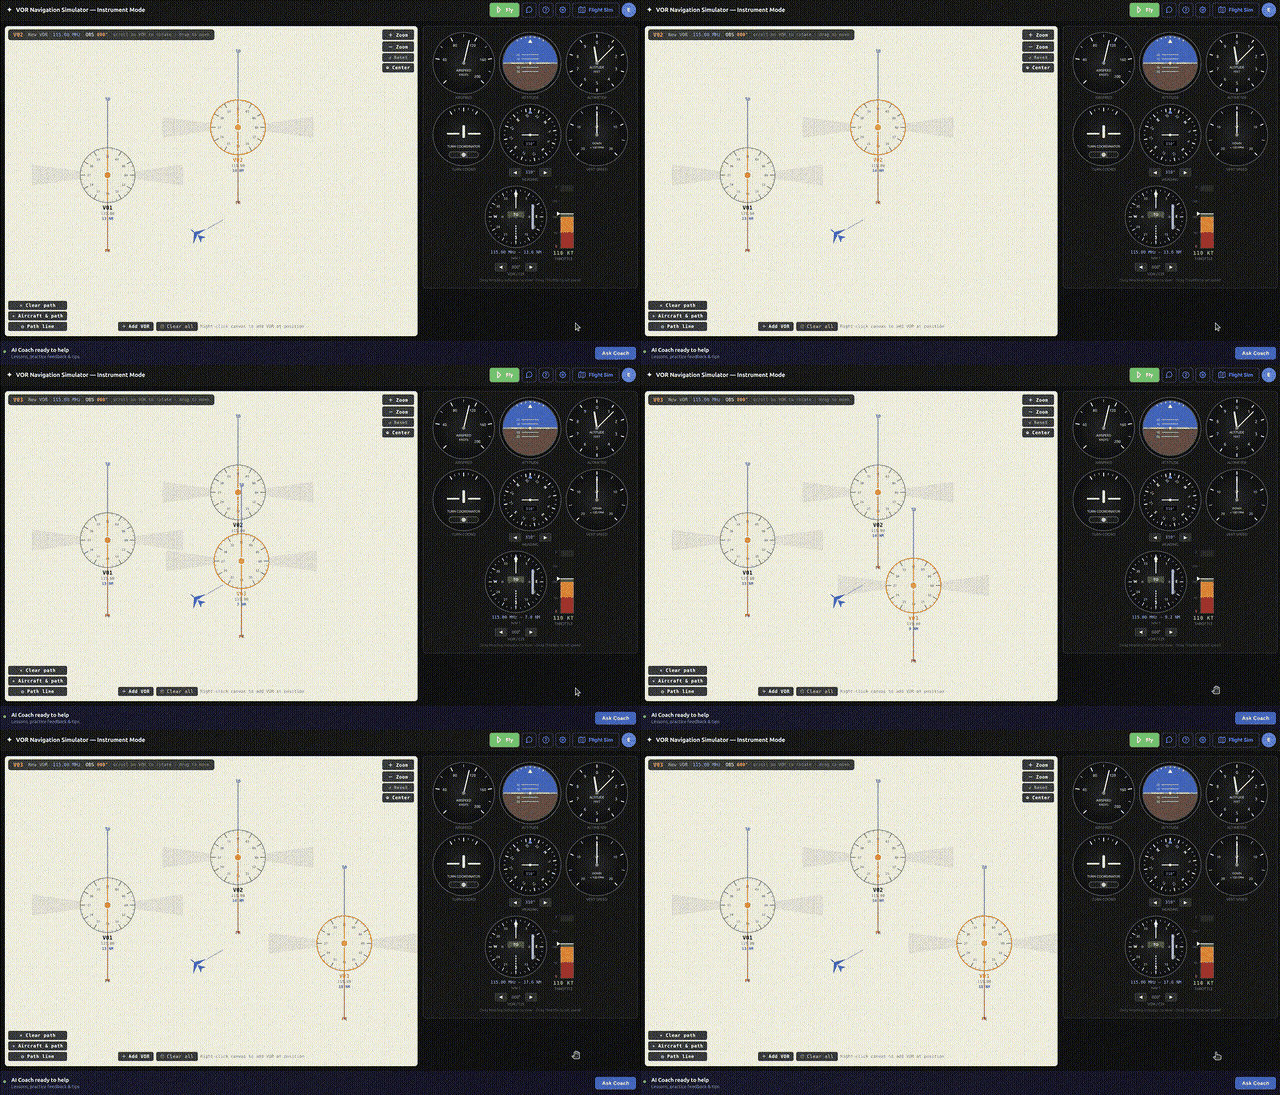
The reason this feels hard at first is that a static diagram cannot show you the needle moving as the airplane moves. The concept only truly lands when you watch the CDI respond in real time to your position and your OBS twists — which is precisely what a simulator provides.
See It Move: Practice in a Simulator
If the OBS, CDI, and TO/FROM flag still feel abstract, the fastest cure is to watch them react. In the RadialCoach instrument simulator you can twist the OBS and see the needle swing, drag the aircraft across a radial and watch the deflection reverse, and deliberately create reverse sensing so you recognize it instantly in the cockpit. A few minutes of watching cause and effect will teach you more than any paragraph — including this one.